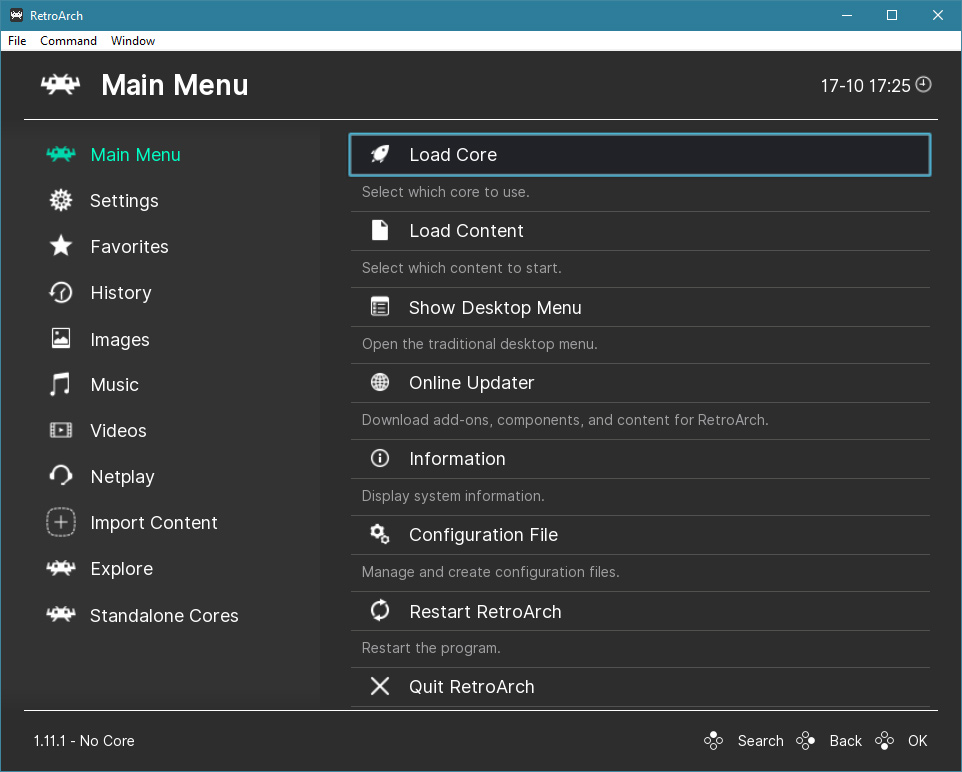
- Launch the ‘retroarch’ application
- Be sure that you are in ‘Main Menu’ and click/select ‘Load Core’
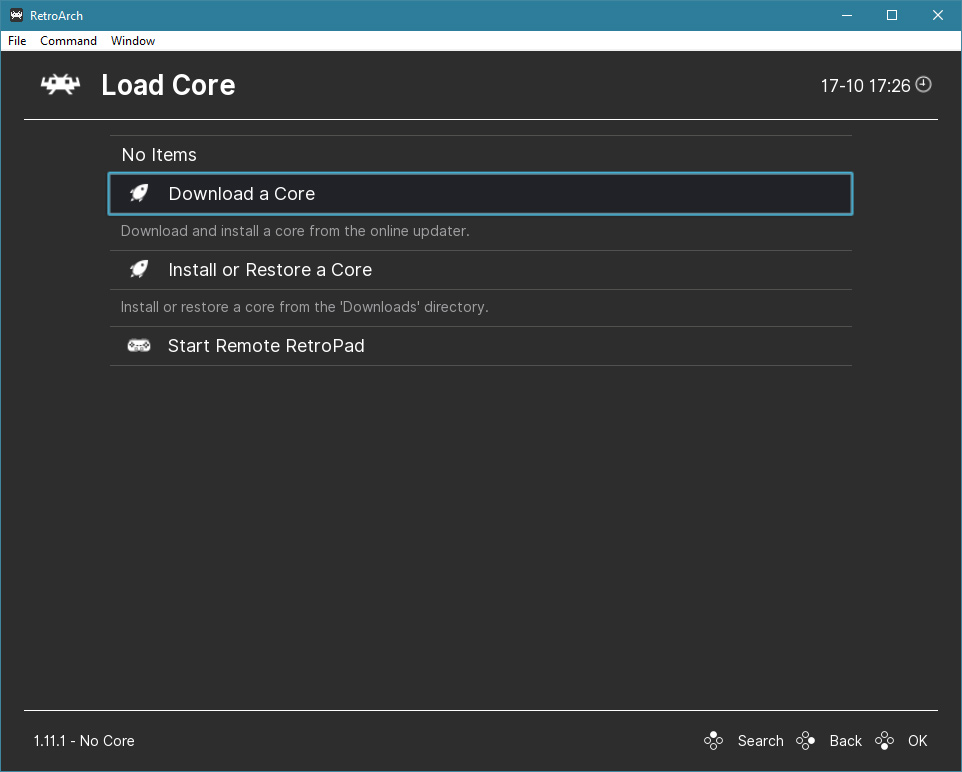
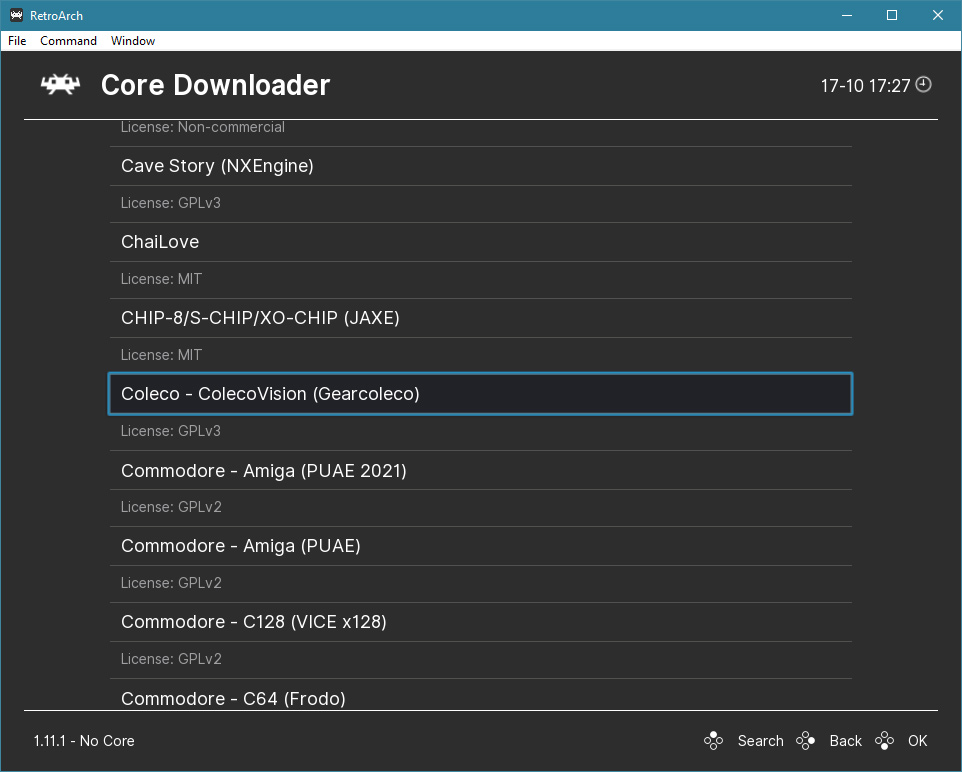
- Click/select ‘Download a Core’
- Choose the system that you want to emulate (with sometimes several choices of emulators for the same system) and click/select it.
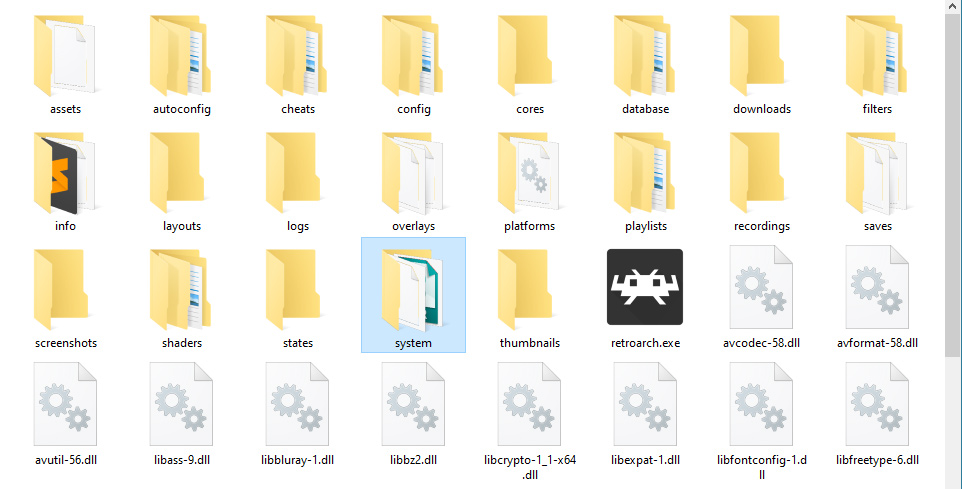
- ATTENTION: Note that some emulated systems require a BIOS to work.
In this case, the BIOS file(s) must be placed in the ‘system’ folder of Retroarch.
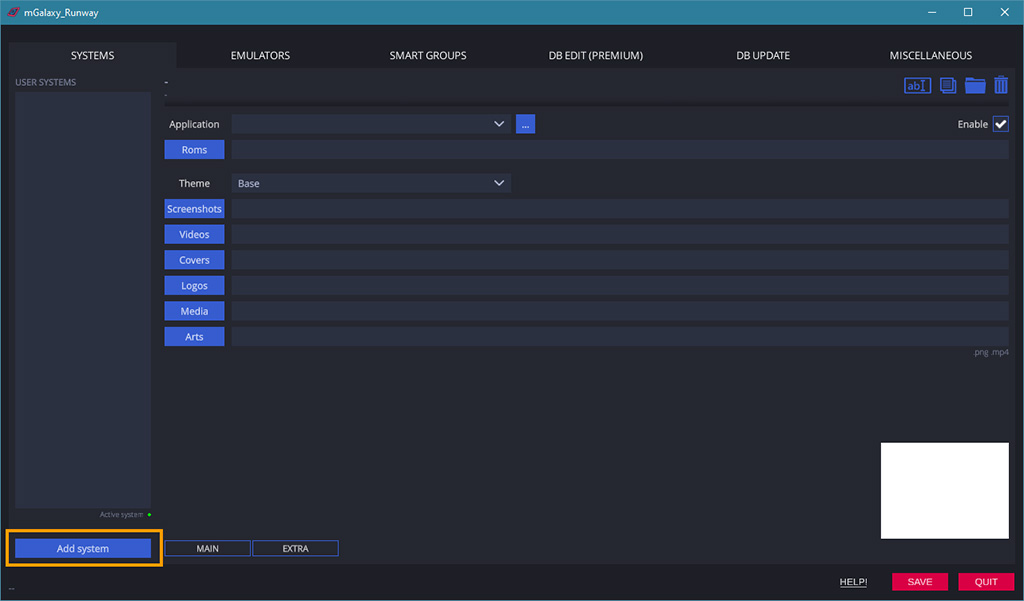
- Launch the ‘mGalaxy_Runway’ application
- Click on the ‘Add system’ button
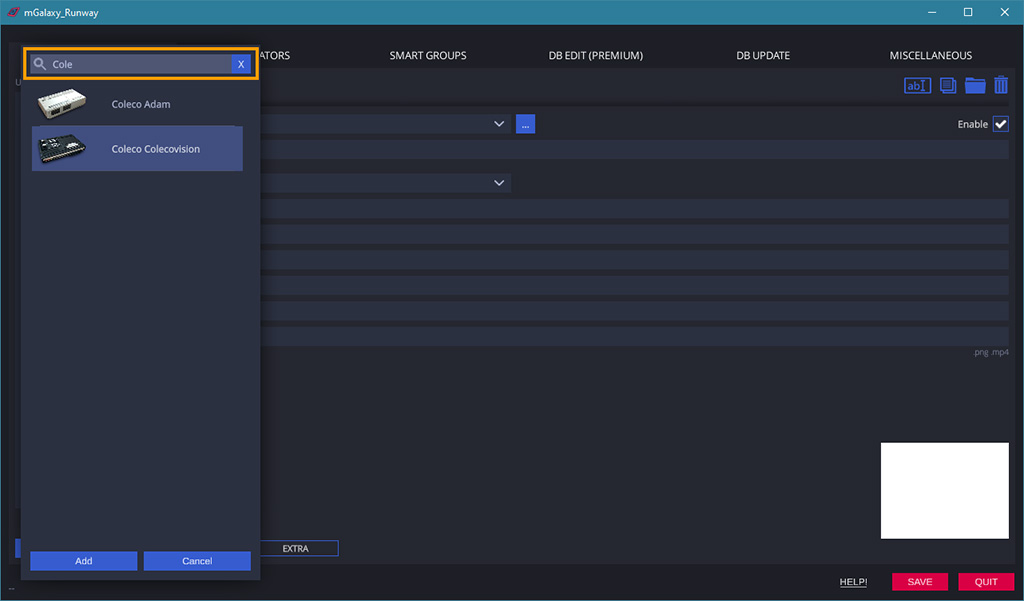
- Scroll to find the desired system
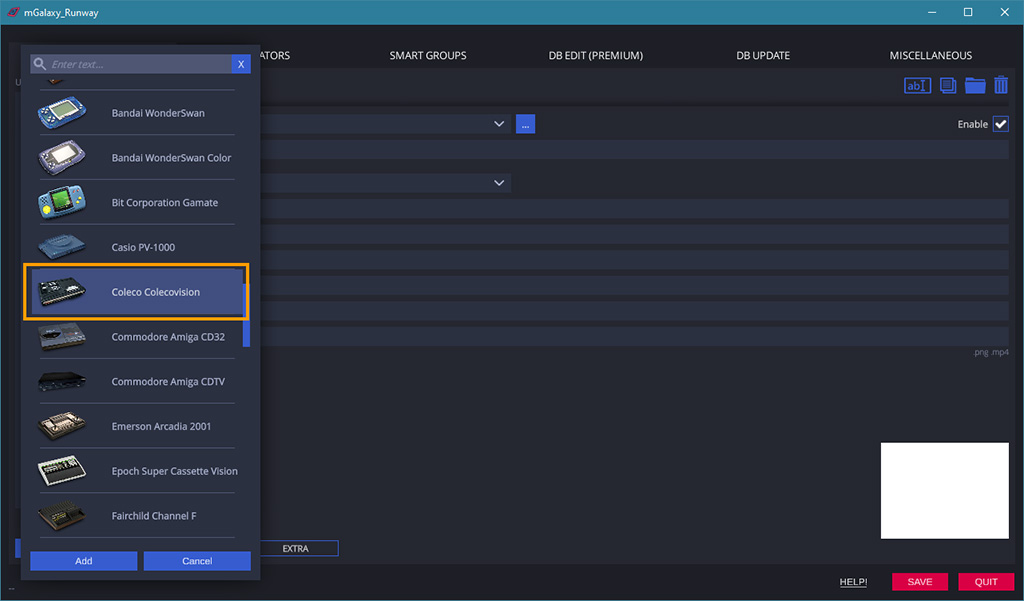
- …or use the ‘filter’ field to limit the search to a keyword
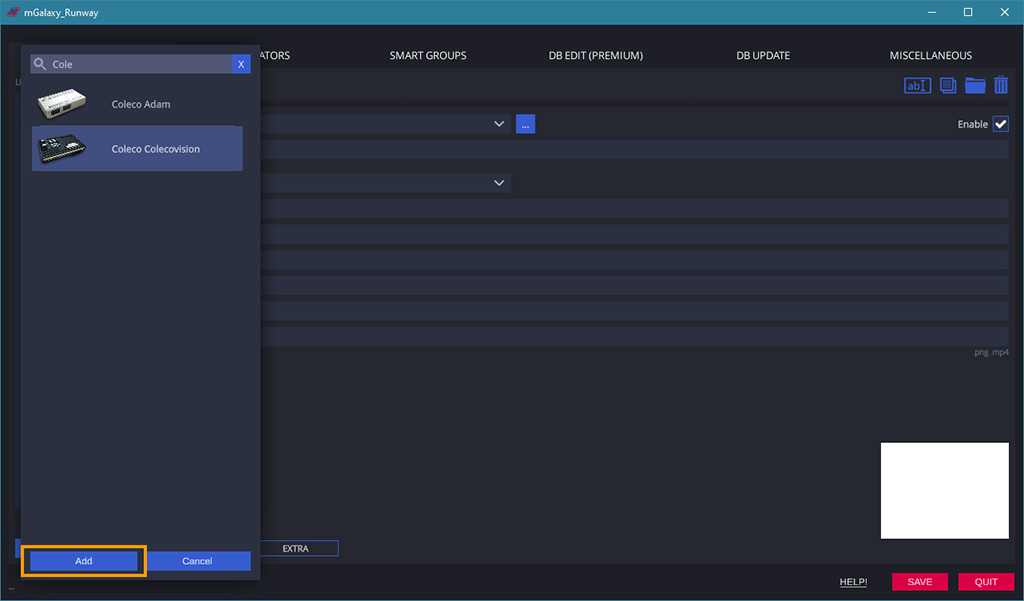
- Click on the ‘Add’ button
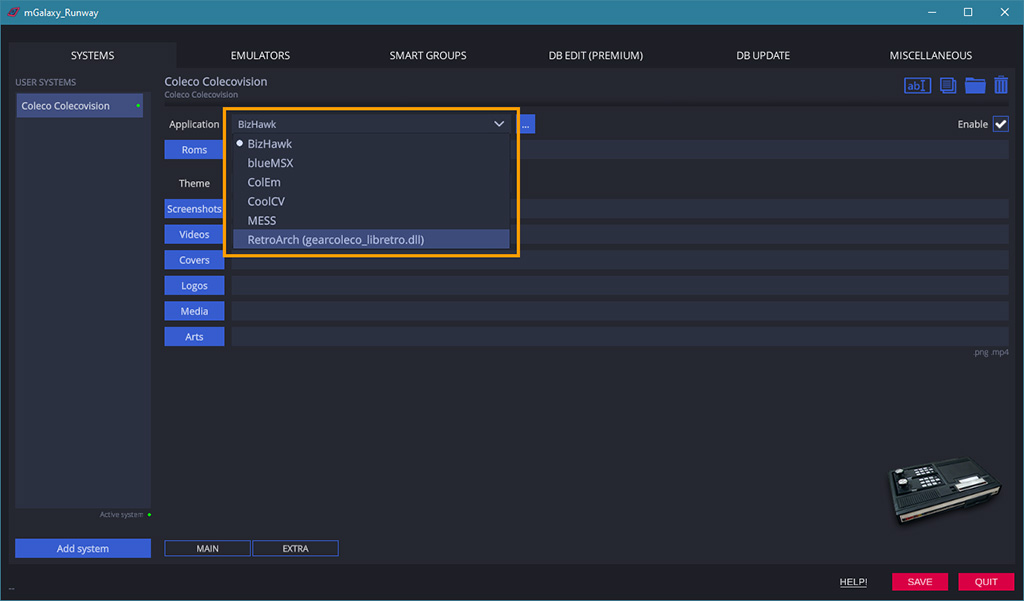
- Select the Retroarch emulator
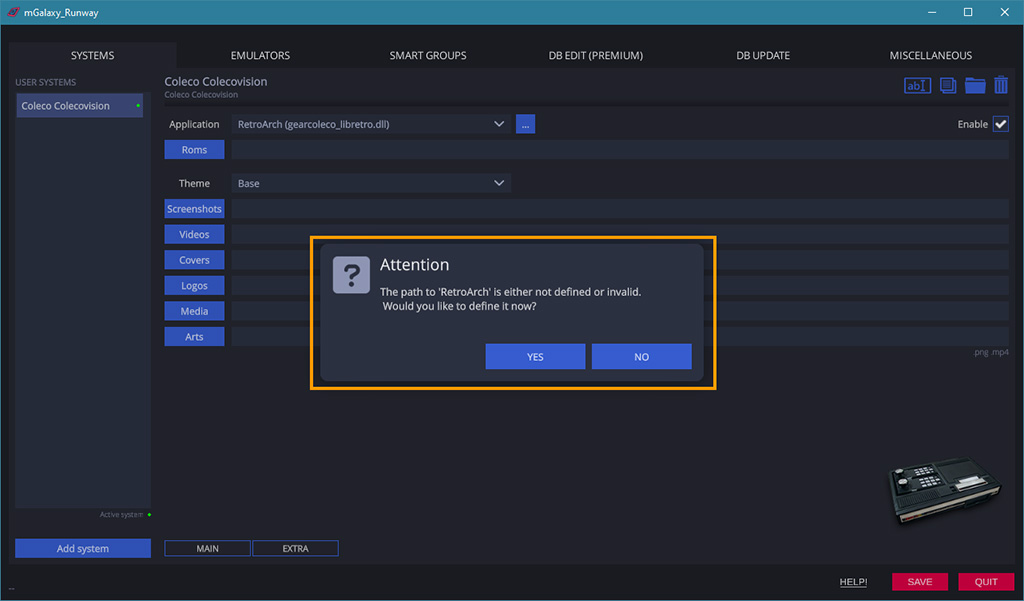
- mGalaxy_Runway will detect that the path to the emulator has not been specified yet and will suggest you to do it now. Click the ‘Yes’ button.
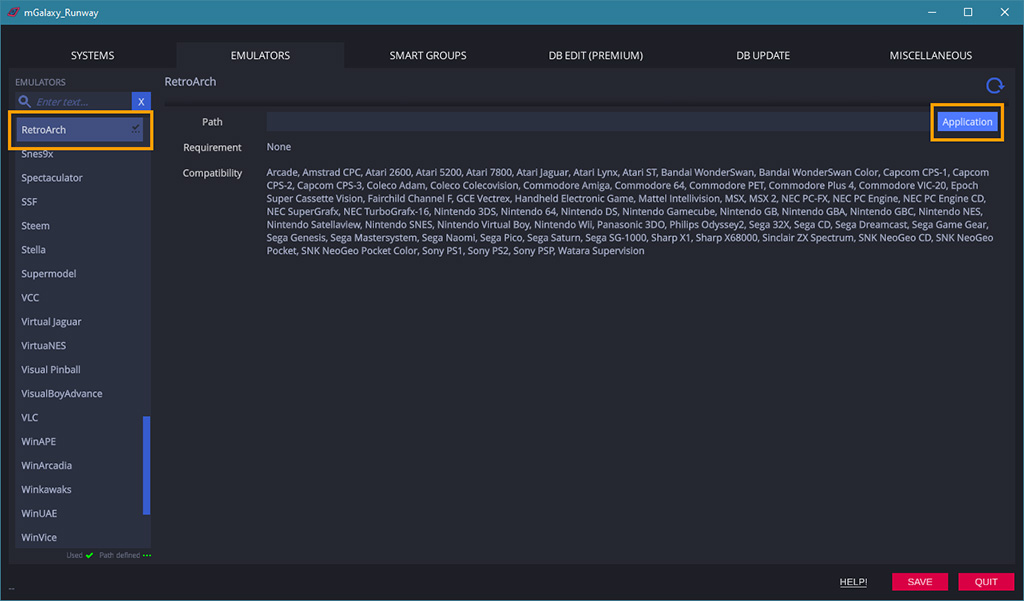
- mGalaxy_Runway will automatically switch to the ‘Emulators’ tab and select the emulator in question.
Click on the ‘Application’ button to open the dialog box that will allow you to select the ‘Retroarch’ application
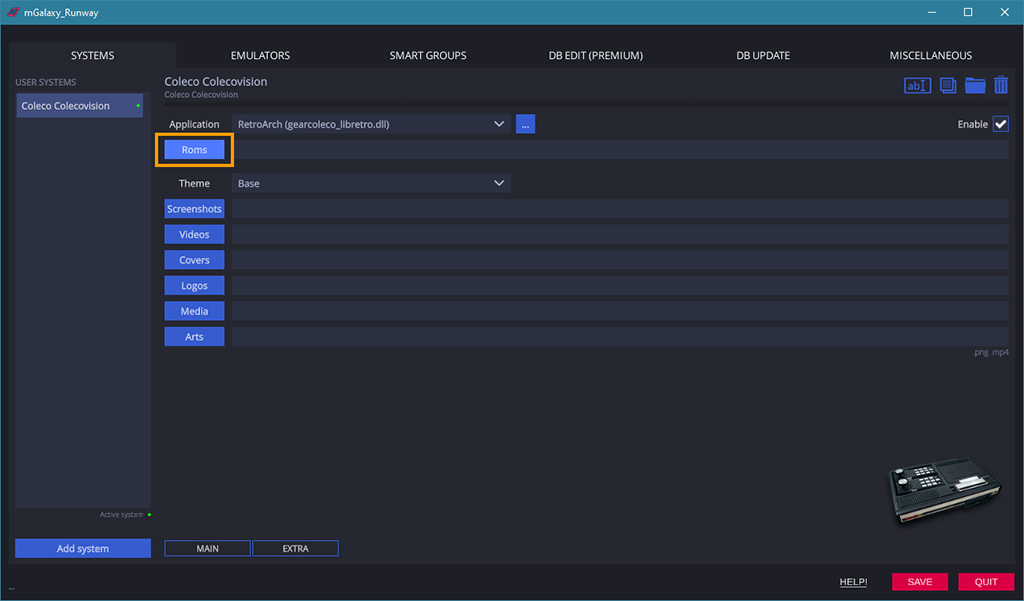
- Go back to the ‘Systems’ tab and click on the ‘Roms’ button to open the dialog window that will allow you to specify where the folder containing your ‘Roms’ (game files) is located
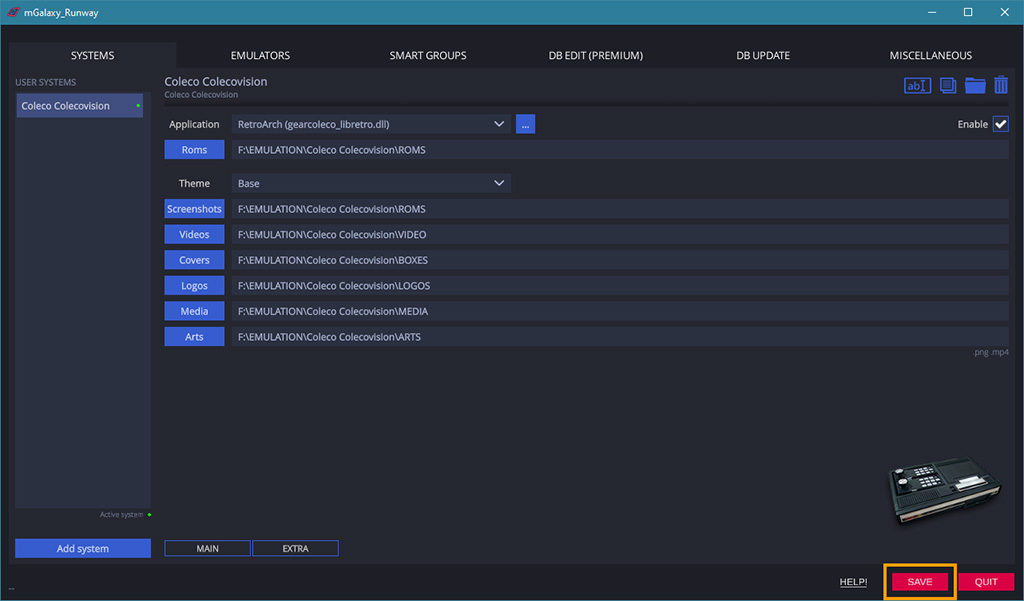
- If you have created folders with certain keywords (as explained in the ‘Tip’ box above), you should find that the other folders have been automatically selected!
This might also be a good time to think about saving everything that has been achieved so far.
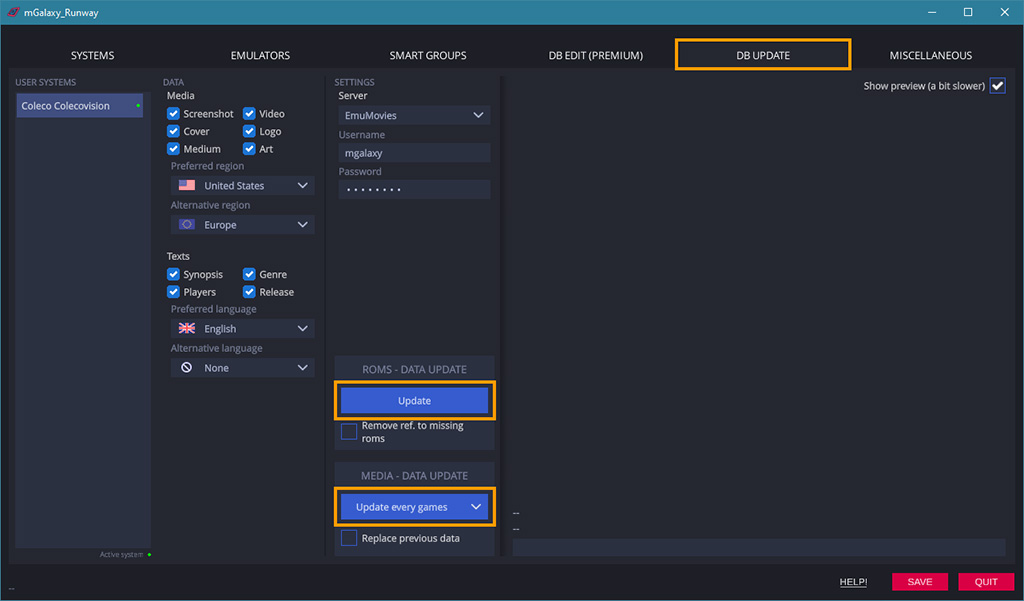
- We will now create the database for this system.We can use mGalaxy without a database, but the database will allow us to enter information about the game, such as a description, its genre, its year of release, its multiplayer compatibility,…Go in the tab ‘DB Update’, and click first on the button ‘Update’ in the block ‘Roms – Data Update’.
This action must be done only once and then every time you add new game files to this system. It will allow mGalaxy_Runway to create a rudimentary database containing the names of the games.Once this is done, we will bring back the text and image data from the games.
In the ‘Data’ section, check the type of elements you would like to bring back and the preferred language for the description.You also need to fill in the ‘login’ and ‘password’ fields of the desired server!
You can choose between:
- Emumovies (link)
- Screenscraper (it is the only one that allows you to download the ‘text’ type elements) (link)
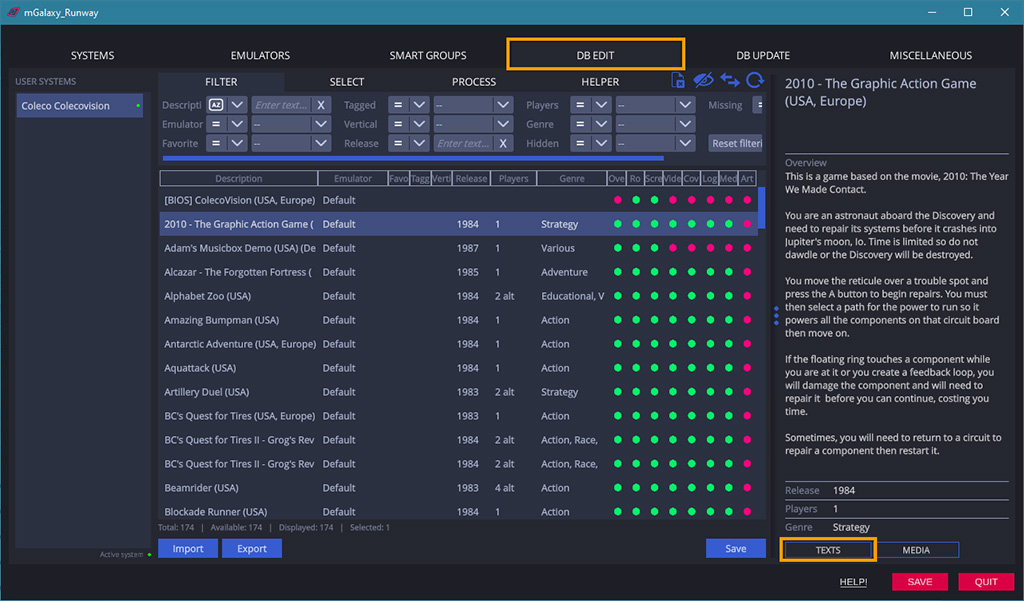
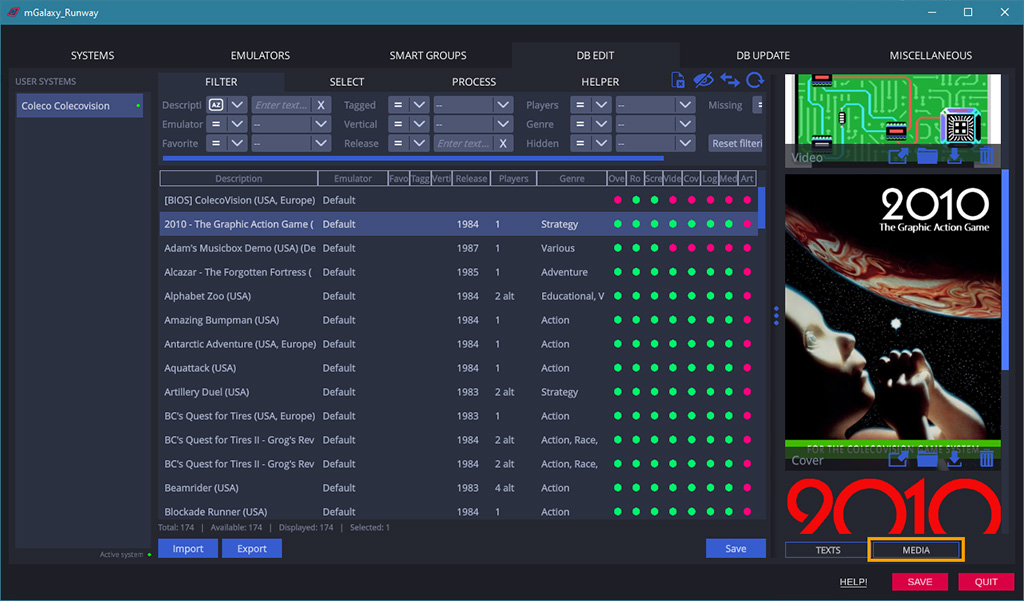
- If you switch to the ‘DB Edit’ tab you will see that you now have all the text and image data!